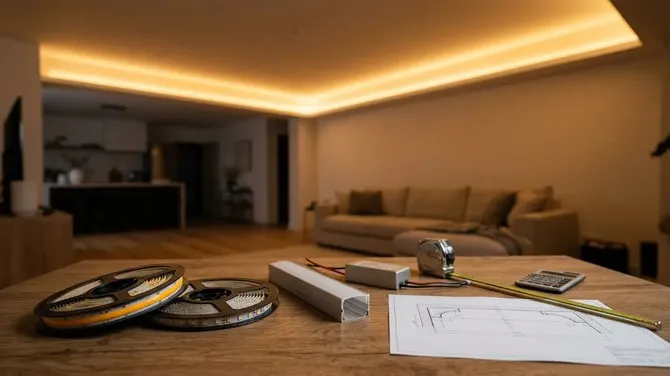
Cove lighting is one of the most popular features in modern Indian homes. A soft band of light hidden in the false ceiling can make a room feel taller, calmer and more luxurious. Yet many homeowners switch on their new cove for the first time and feel disappointed. Instead of a gentle glow, they see a row of tiny bright dots, a harsh stripe near the edge, or a strange greenish tint on the white ceiling.
The good news is that these problems are almost always avoidable. They rarely come from bad luck. They come from a handful of decisions made before and during construction, often without anyone explaining the options.
The first and most important decision is the type of LED strip. Standard SMD strips use individual LED chips spaced along the tape. When they sit close to a surface, each chip can show up as a separate point of light. COB strips, short for chip-on-board, pack the light sources so closely that they produce a continuous line with no visible dots. For coves that are close to the ceiling or visible from certain angles, this difference is dramatic.
Colour quality matters just as much. Every strip has a colour rendering index, or CRI, which measures how naturally it shows colours. Strips with a CRI of 90 or above make white paint look clean, wood look warm and skin tones look natural. Cheaper strips with lower CRI can make the same ceiling look flat, yellowish or slightly green. Because a cove lights a large surface, any colour problem is immediately noticeable.
The third factor is the cove itself. A cove that is built too shallow, or with the strip placed too close to the ceiling, tends to create a hard bright line instead of a soft wash. Giving the light more distance to spread produces a gentler gradient. The strip should also sit completely behind the lip of the cove, so that it is never visible from the sofa, the bed or the dining table. Tilting the strip slightly towards the ceiling helps spread the light more evenly.
The ceiling finish plays a supporting role. Cove light grazes across the surface, so it reveals every bump, joint and patch. A smooth, matte finish looks best. Glossy paint reflects the strip and exaggerates hot spots.
Behind the scenes, a few technical details protect both the look and the lifespan of the lighting:
- Mounting strips in aluminium channels helps them stay straight and manage heat, which keeps them bright for longer.
- Using 24-volt strips, and feeding power into long runs at more than one point, keeps brightness even from end to end.
- Choosing good-quality drivers with some spare capacity reduces flicker and early failure.
- Keeping the same colour temperature throughout the home, usually between 2700K and 3000K for living spaces, avoids rooms that look mismatched.
Control is the final layer. A dimmable cove can be bright and clear for everyday life, then soft and warm in the evening. Tunable white strips go further, shifting from cooler light in the morning to warmer light at night. Linked to a smart lighting system, the cove can become part of scenes that set the mood of the whole room with one touch.
The single most useful piece of advice is to plan all of this before the false ceiling is built. Once the gypsum or POP cove is finished, changing its depth or angle usually means breaking and rebuilding it. Agreeing the cove section, strip type and driver positions with the interior designer and electrician at the drawing stage costs nothing extra and prevents most of the common problems.
For homeowners comparing quotes, this cove lighting cost guide explains typical prices per foot and per room, and what changes between basic and premium options.
Done well, cove lighting is one of the most beautiful and affordable ways to transform a room. The difference between a ceiling that glows and one that shows dots is not luck. It is a few informed choices, made at the right time.
Disclosure: The author works with Brightmatic, a lighting and automation company that publishes the cost guide linked in this article.


